Published: 27/11/23 By: Mike Bekin
Did you know that you can construct timber decking yourself? It is a slightly complex DIY project and we do recommend you have some experience with construction, but as long as you are confident working with timber you will be fine. To help you get started, we have put together a quick step-by-step guide with everything you need to know.
Prepare Your Materials
You are going to need a fair few items to lay your timber decking boards. To start with, of course, you will need your timber! At EcoChoice, we offer a wide range of sustainably sourced, FSC-certified timber species which are ideal for decking, including Jatoba, Cumaru and Thermowood. If you need help choosing the boards for your decking, feel free to get in touch with us and we will be more than happy to help.
Other than timber boards, you will need:
- Decking joists
- Stainless steel screws
- Measuring tape
- Spirit level
- String
- Hand saw
- Drill
- Decking staining/oil (if you choose)
You may also need some materials to prepare your ground surface before laying your boards, such as gravel and weed control fabric.
Planning and Preparation
The work you put into planning your timber decking will go a long way towards the success of your project. Before building, decide on the size, shape and location of your deck. Also obtain any necessary permits or permissions from your local authorities or homeowner’s association.
You will then need to start preparing your chosen site for your decking. To do this, clear the area of weeds using homemade weed killer, and be sure to remove any debris and blockages. If necessary, dig holes for the footing or concrete pads. Lay down weed control fabric to prevent weeds from growing through.
Begin the Build
Once the groundwork is done, it is time to move on to installing your decking structure. Note that you might have to install a ledger board if you are adding your decking to the side of your house. The main focus here should be ensuring that everything is level.
Then move on to installing your support posts. These should be placed at regular intervals and at the same height, using a spirit level to ensure they are perfectly straight.
Now it is time to attach the timber beams. These will lie perpendicular to your ledger board and posts and provide support for your joists. Your joists should be screwed across the beams at intervals of around 400-500mm apart.
Lay Your Decking Boards
Now that your foundations are laid, you can start adding your decking boards.
Begin by laying the perimeter boards around the edge of the frame and securing them to the joists with screws. Then lay your decking boards. Begin at one end of the deck and lay the first board flush with the outer edge. Leave a small gap (usually around 5mm) between boards to allow for drainage and expansion. You may also want to use spacers to maintain consistent gaps.
Secure your timber deck boards to the joists using screws, making sure to pre-drill holes before fixing to prevent your boards from splitting. Trim any overhanging boards with a handsaw for a smooth, clean edge.
Finish Your Decking
If you would like to add stains or Oils to enrich the look of your timber decking you can, or you can leave to weather naturally to a beautiful silver-grey colour.
Find More Timber Advice at EcoChoice
At EcoChoice, we are timber decking experts. Whether you are looking for the perfect timber species or you have a question about laying your deck, we can help. Reach out to our team today and let’s chat about your decking.
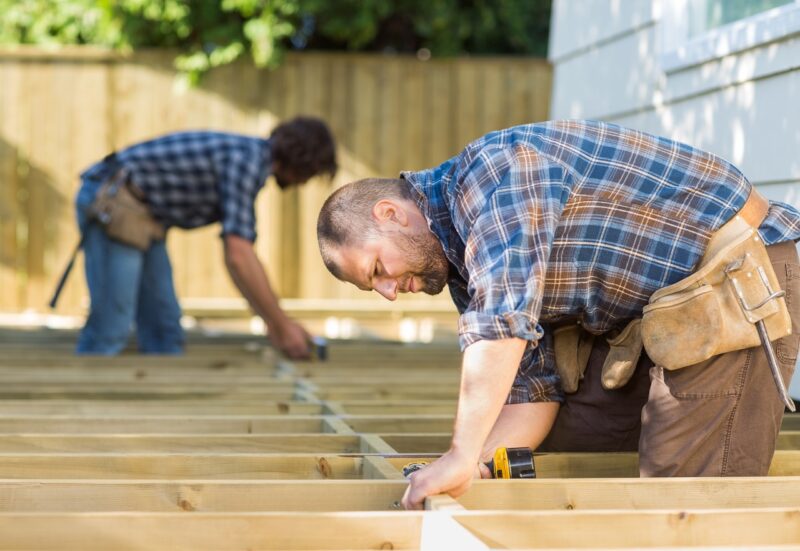
Image: Tyler Olson / Shutterstock.com