Published: 11/03/24 By: Mike Bekin
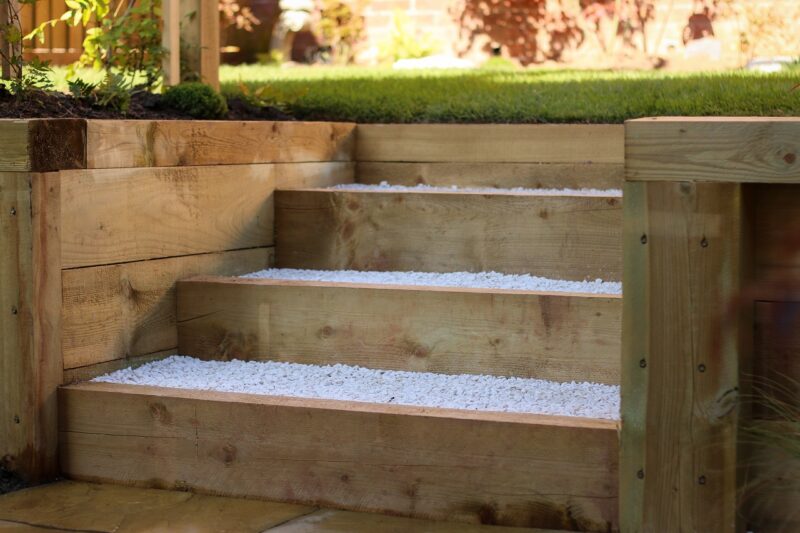
If you are looking to add steps to your outdoor space, Oak sleepers are a great option. Whether you are undertaking a DIY project in your garden or thinking of sustainable options for a public park, sleepers bring rustic charm and excellent functionality to any project. To make things even better, we have put together a step-by-step guide to building steps from Oak sleepers. Let’s jump into it!
What You’ll Need
Before starting, there are some essentials you will need to get your hands on. These include:
- Oak sleepers
- Gravel
- Concrete mix
- Spirit level
- Tape measure
- Circular saw
- Power drill
- Wood screws
- Landscaping fabric
- Shovel
Step 1 – Planning
We would always suggest taking the time to plan and design your steps rather than diving in without a strategy in mind. Consider the slope of your land, how high and wide you would like each step to be, and the overall look you are hoping to achieve. Create a sketch with measurements for a clear plan of what you are intending to build.
Once you know your measurements, you can find the Oak sleepers to match your space. At EcoChoice, we supply PEFC-certified French Oak sleepers to projects around the UK, To order yours, let us know your required measurements and we will do the rest.
Step 2 – Clear Your Area and Excavate
Before installation, you need a clear area to lay your steps. Remove any debris, rocks or plants which may interfere with the construction process. You will then want to excavate to the desired depth for each step, levelling the ground as you go and leaving room for a layer of gravel.
Step 3 – Add Your Gravel (Optional)
If you are installing your steps using stakes, you can add a layer of gravel on top of the earth. This not only makes your foundations more stable but also provides drainage beneath your steps to avoid water build-up. Lay an even layer and compact the gravel using a tamper. You want a solid, even base on which to lay your steps, so take your time to get this just right.
Step 4 – Cut Your Oak Sleepers (Optional)
If you have planned ahead and ordered with EcoChoice, you might not need to cut your Oak sleepers. This is one of the reasons why clear designs are a smart idea! However, if you were not sure of sizing or have changed your mind, now is the time to use a circular saw to cut your sleepers down to size. Be sure to wear protective gear during this process and always follow the manufacturer’s guidelines for your saw.
Step 5 – Install Your Steps Using Concrete
Now it is time to lay your steps. Begin by laying your mixed concrete at a thickness of between 50mm and 100mm. Then take your bottom step and place it into position on your excavated site, using a spirit level to ensure it is straight. You might have to adjust your gravel as you begin laying your steps, which is absolutely fine. For added stability, pour concrete into the gaps between your sleepers for a super solid structure.
Step 6 – Install Your Steps Using Stakes
If you do not want to use concrete, timber stakes are a great alternative. To install your steps using this method, begin laying your sleepers before driving two stakes into the soil behind the timber, one at each end of your step. The very top of your stake should be 2-3cm lower than your sleeper so that it will be hidden by the next-laid step. Screw your stakes to the sleeper until they are firmly attached.
Get More Advice at EcoChoice
If you are undertaking a project using Oak sleepers, we are always happy to lend a hand! From finding the sleepers which suit your specifications to sharing our advice for your project, our timber experts will be happy to chat. Get in touch today to get your project off to the right start.
Tags: oak sleepers
Categories: Insights