Published: 20/05/24 By: Mike Bekin
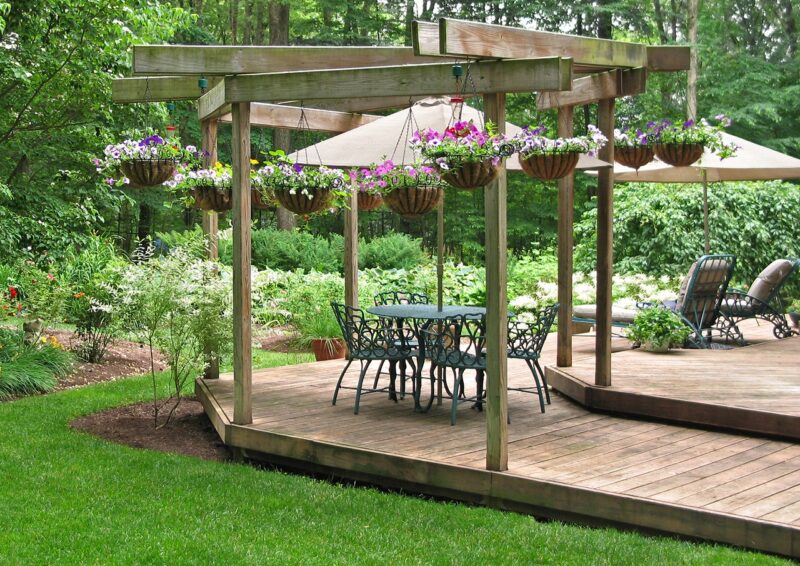
Are you thinking of building a floating deck? Also known as a freestanding or ground-level deck, these timber structures sit alone in the space and are not attached to a building. They are generally easier to build than standard decking designs, but it is a good idea to take the time to prepare before you start your DIY construction.
Take a look at this guide before you get started for simple, step-by-step instructions straight from our timber decking experts.
1. Choose the Right Timber
To get your project off to a good start, it is crucial you choose a durable timber species which can withstand the strains of outdoor use. This will drastically reduce the amount of maintenance your DIY freestanding decking needs, and it will boost longevity, so it is well worth doing.
To make this task super simple, our experts at EcoChoice have selected their top sustainable timber picks for durable decking:
You can also opt for a less durable timber which has been treated for external use. But just be aware that this is likely to need more maintenance, with any finishes re-applied every year or so to keep your decking looking its best.
2. Prepare the Deck Area
Before installing your decking, it is important you clear the area. Get rid of any organic material (including grass) and level the ground for an even, steady base. Some people like to lay down landscape fabric as a preventative measure to stop any pesky weeds growing under the deck.
3. Add Concrete Blocks
Around your perimeter, set a concrete block at each corner of your decking space. Place an additional block in the spaces between so that they are evenly spread around the outside of your decking. You can also add a couple of concrete bricks to the centre of your decking square, providing extra support. Make sure your blocks are level.
4. Build a Frame
If needed, trim 4 timber joists down to your desired length. Drill pilot holes in your timber before fastening them together using stainless steel or galvanised steel screws to create an outer frame. Once your outer 4 joists are connected, add 2 additional joists within the frame, screwing them to the outer joists so that they lie flush together.
You can then place the timber decking frame on your concrete blocks, ensuring the frame sits over the centre of the blocks and every joist lies firmly on the concrete. Check that your frame is level. Then you can add the remaining joists to your decking frame.
5. Add the Timber Deck Boards
When your outer frame is finished and lies level on your blocks, it is time to fasten your timber deck boards to the structure. Trim them down to size if needed before laying them from one end of the frame to the other, ensuring that they are flush with the joists, straight and level. Drill pilot holes where the decking boards meet the joists and fasten together using deck screws.
Continue fastening the timber decking boards, spacing them about ⅛ inch apart to allow for movement in the timber.
6. Finish Your Floating Deck
Once all your decking boards are securely fastened to the joists, you will have a complete freestanding deck! Now you can finish your design, adding any paints or oils to the timber and any required timber finishes, including water-resistant and UV-resistant treatments. However, if you have chosen a naturally durable timber, you will not need to do this.
Find Decking Boards at EcoChoice
If you are ready to build freestanding decking, get your project started with sustainable timber from EcoChoice. With a wide range of timber decking boards available in a variety of species, our FSC and PEFC-certified timber products make it easy to bring your timber designs to life.
Check out our timber decking products to learn more and build a deck which is made to last.
Tags: Decking, DIY, floating deck
Categories: Insights
