Published: 06/12/23 By: Mike Bekin
Whether it is your first time working with timber or you are a seasoned carpenter, it is possible to undertake a DIY cladding project. But that does not mean it is easy! For your cladding to look smart and last for years to come, you will need some professional knowledge for the best results. One area which is particularly important to get the hang of is corners, both for external and internal cladding. Luckily, our team at EcoChoice are here to help.
Let’s take a look at our tips for getting your cladding corners spot on.
What Do We Mean by Cladding Corners?
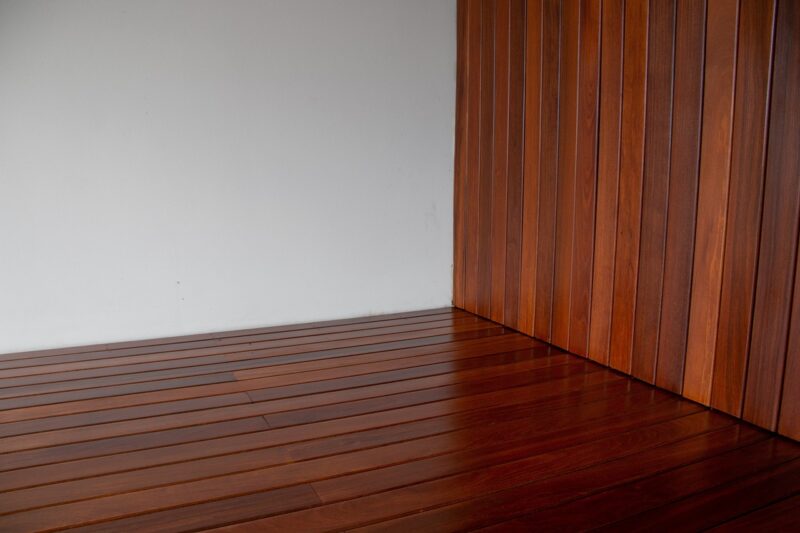
When talking about cladding corners, we do not mean the corners of each individual board. Instead, we are talking about the corners of your entire cladding project at the edges where two walls meet. When done properly, your corners will maintain a watertight, professional finish for your project, but when done without at least some professional know-how, the end result can look pretty shabby.
Of course, this is the same across the whole of your cladding project. For more information on how to get your cladding boards just right, have a look at the TDCAs cladding design considerations.
Why Are Your Cladding Corners So Important?
Cladding corners are particularly important for external projects. With harsh weather conditions, from rain to snow, your corners are critical for keeping your walls watertight and holding fast against the elements. Interior cladding corners can have the same purpose, particularly in rooms where they might be exposed to water. They also lend a neat, seamless finish to your cladding.
Tips for Your Exterior Cladding Corners
To achieve a robust and aesthetically pleasing corner on your exterior cladding walls, we have put together our top tips for your project.
- For external walls, always install a breather membrane before adding your cladding boards to protect the wall underneath from water damage.
- Pre-treat any softwood timber you are using to improve durability.
- Cover strips can be used to prevent movement in the timber as a result of moisture.
- Between your corner details and board ends, leave an expansion gap of between 8 and 10mm.
Precise measurements and accurate cutting are also essential. Use a straight edge and a sharp utility knife to cut panels so that they are uniform, and ensure that the cut ends are clean and straight. Apply a high-quality, weather-resistant sealant in the joint where the two cladding panels meet. This will help prevent water infiltration and maintain the integrity of the corner.
Some construction workers prefer to use the overlap method for a watertight finish. This is when you overlap one cladding panel with another at the corner, ensuring a minimum overlap of at least 1 inch for weatherproofing.
Tips for Your Interior Cladding Corners
Internal corners, though less exposed to the elements, are equally important for a polished look and structural integrity. Here are the best practices for cladding installation at internal corners:
- Aim for a seamless joint at internal corners by mitring the cladding panels. Mitre cuts create a 45-degree angle, providing a clean and professional appearance.
- Make precise mitre cuts using a mitre saw, ensuring that the panels fit together snugly without any gaps or overlaps.
- Seal the joint with a colour-matched sealant to create a watertight and aesthetically pleasing corner.
You can also add corner trims and strips to protect your corners. These trims not only add a finishing touch but also enhance the corner’s durability.
Choose Your Cladding Boards at EcoChoice
If you are embarking on a cladding project, we can help! At EcoChoice, we supply high-quality, responsibly sourced timber cladding boards in a wide range of species, profiles and finishes. Find the right timber cladding for your interior or exterior project today by getting in touch with our friendly team.
Image: Radoslav Cajkovic / Shutterstock.com